Why Link to heading
I really needed something local to deploy my personal projects on, like this website, without emulation and without using costly cloud services like EKS. Also nothing says “I’m technical” like a cluster of Raspberry Pis you’ve slapped together in a tower of acrylic sitting on your desk.
At TrojAI we also deploy our solution on Kubernetes, so it’s nice to have an arm64 setup on my local network for testing. This is just a simple Kubernetes lab environment built on Raspberry Pis. It’s meant to be a template for creating your own setup, so feel free to modify it as you see fit.
Prerequisites & Parts Link to heading
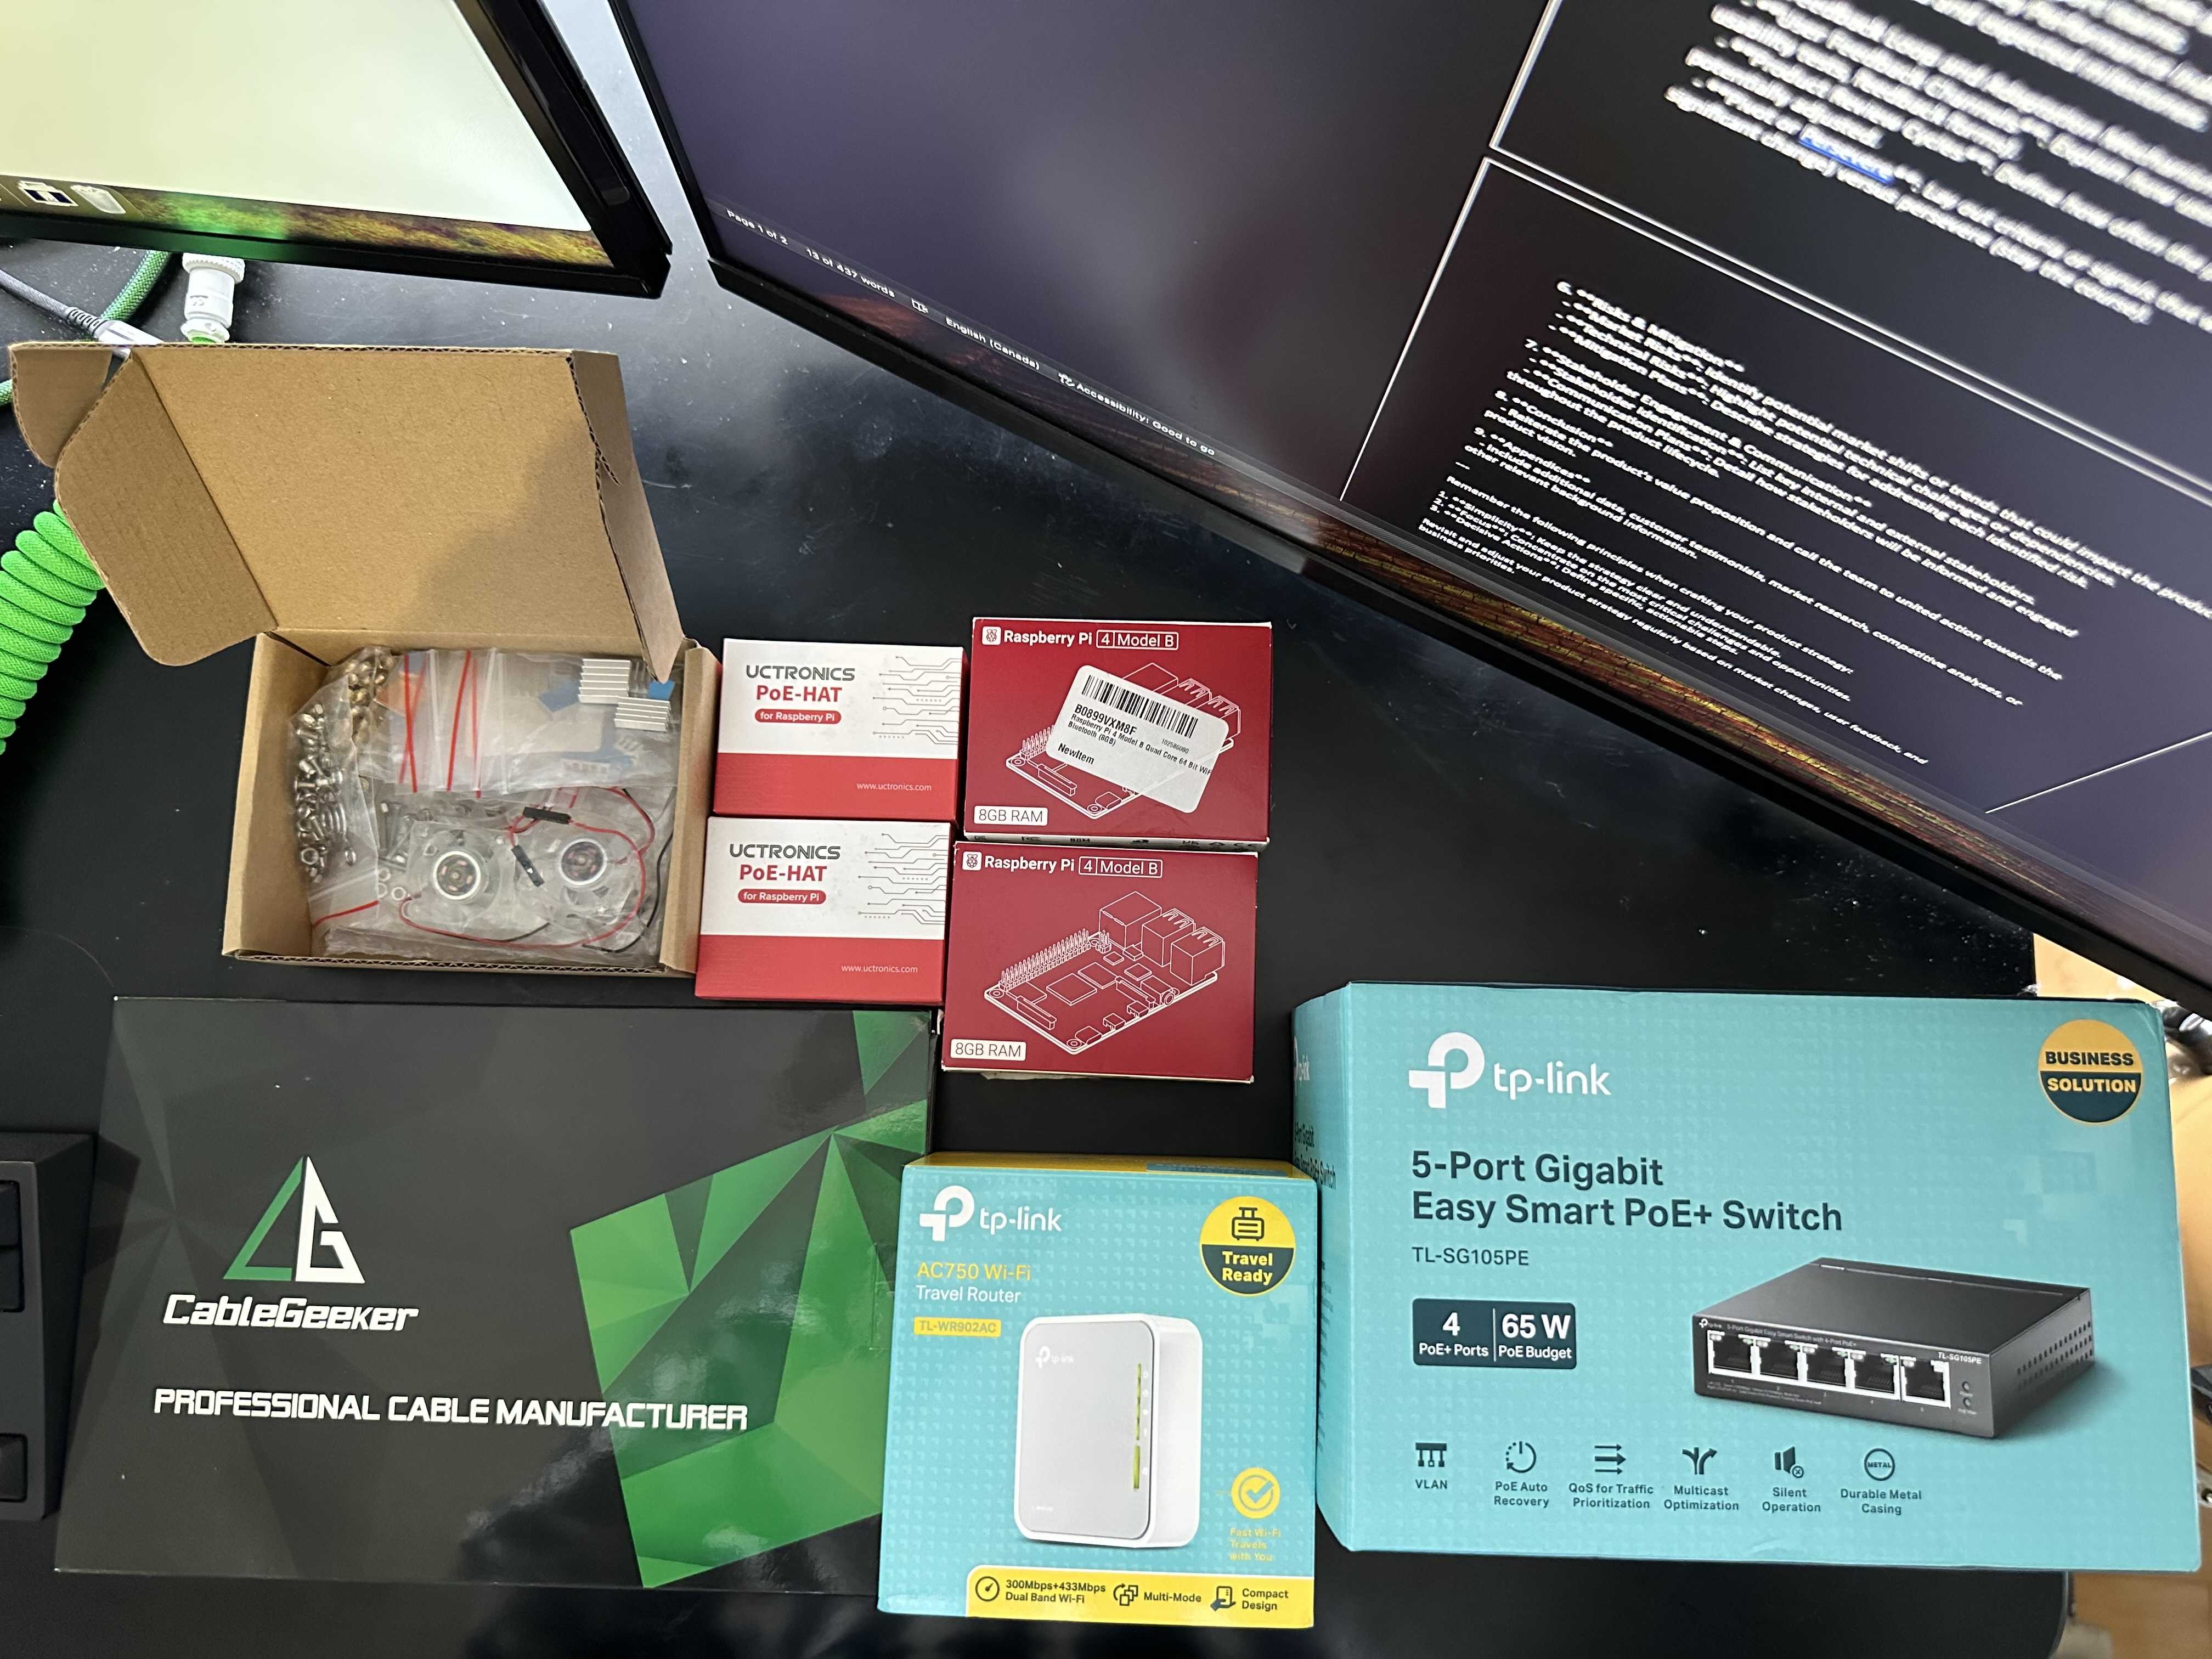
Before diving in, ensure you have:
- N Raspberry Pi devices (One for the server and others for the agents).
- N Micro SD cards with a Raspberry Pi compatible OS (like Raspberry Pi OS or Ubuntu Server) installed.
- N + 1 Ethernet Cables (one for each Raspberry Pi and one for connecting the switch to your main router).
- N PoE-Hats (optional, can use a different power option if you want).
- 1 Raspberry Pi Cluster stand to neatly stack all the Pis (optional, but recommended).
- 1 PoE Switch (optional, you can plug directly into your router if you want).
- 1 Extra Router (optional, I didn’t end up going this route, but it’s a good option if you want to isolate your cluster from your main network and have portable DHCP).
Hardware & OS Setup Link to heading
1. Hardware: Link to heading
Setup the Raspberry Pi cluster stand by screwing in the metal uprights and acrylic plates.
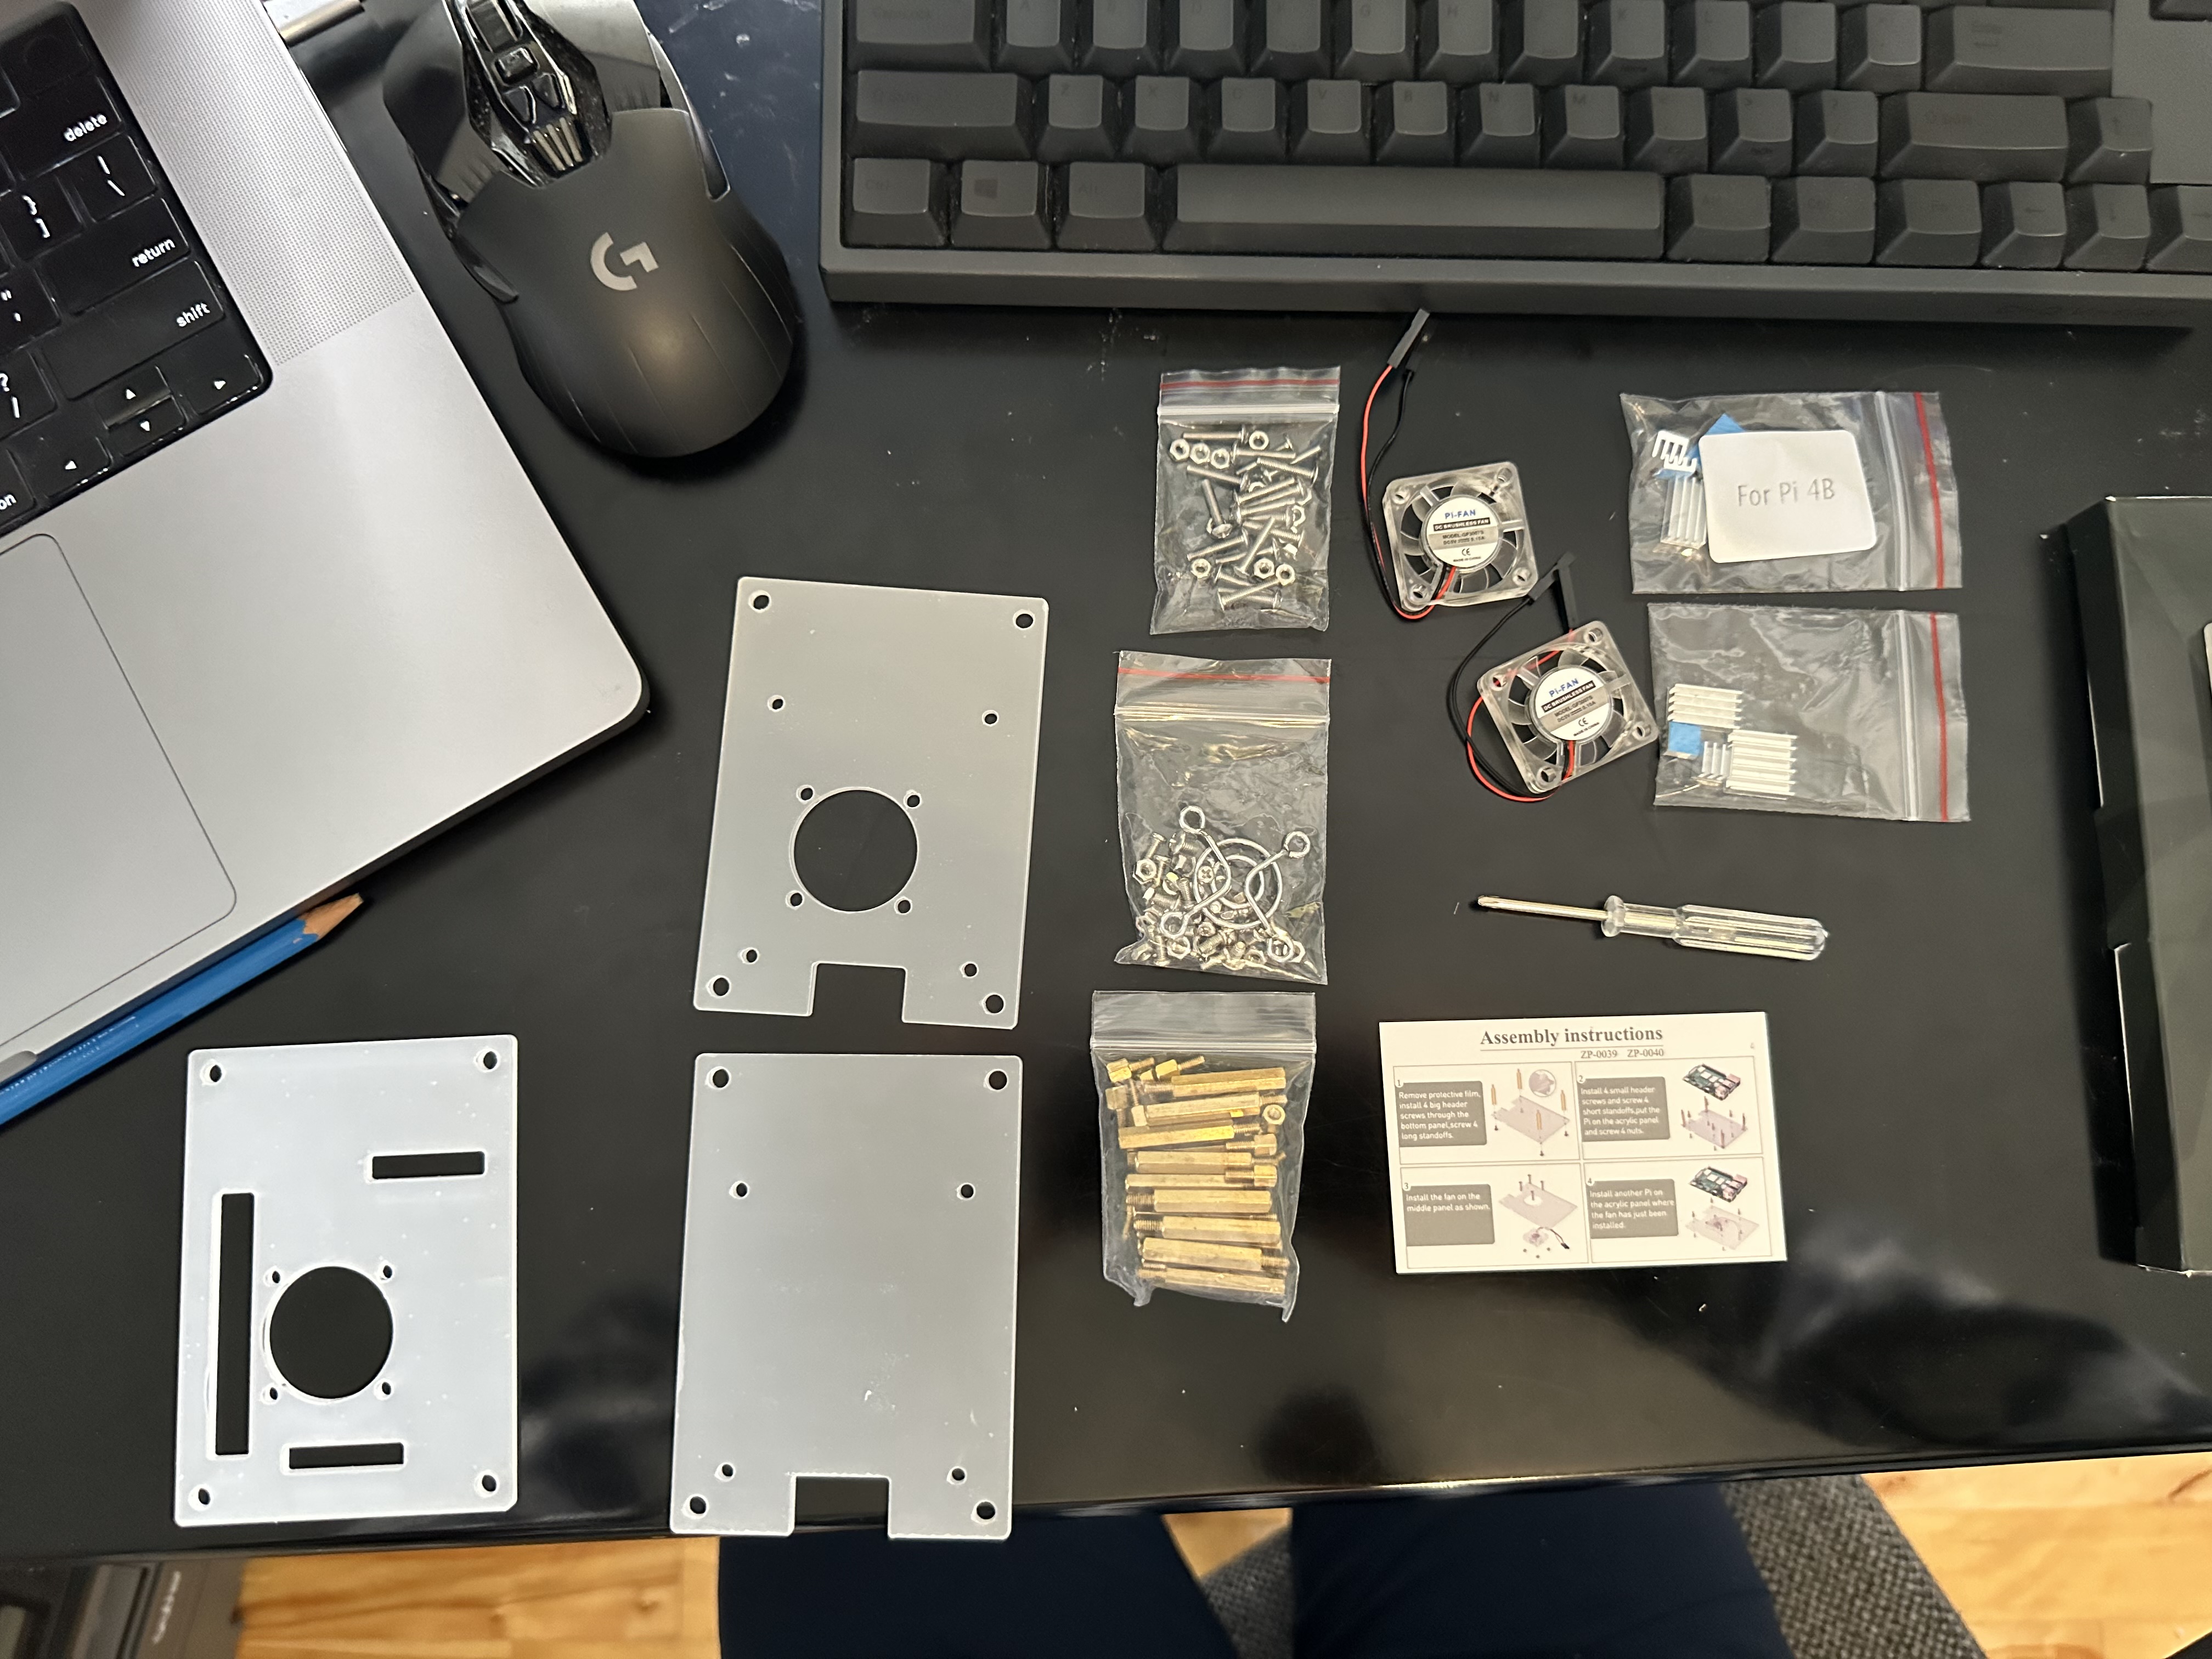
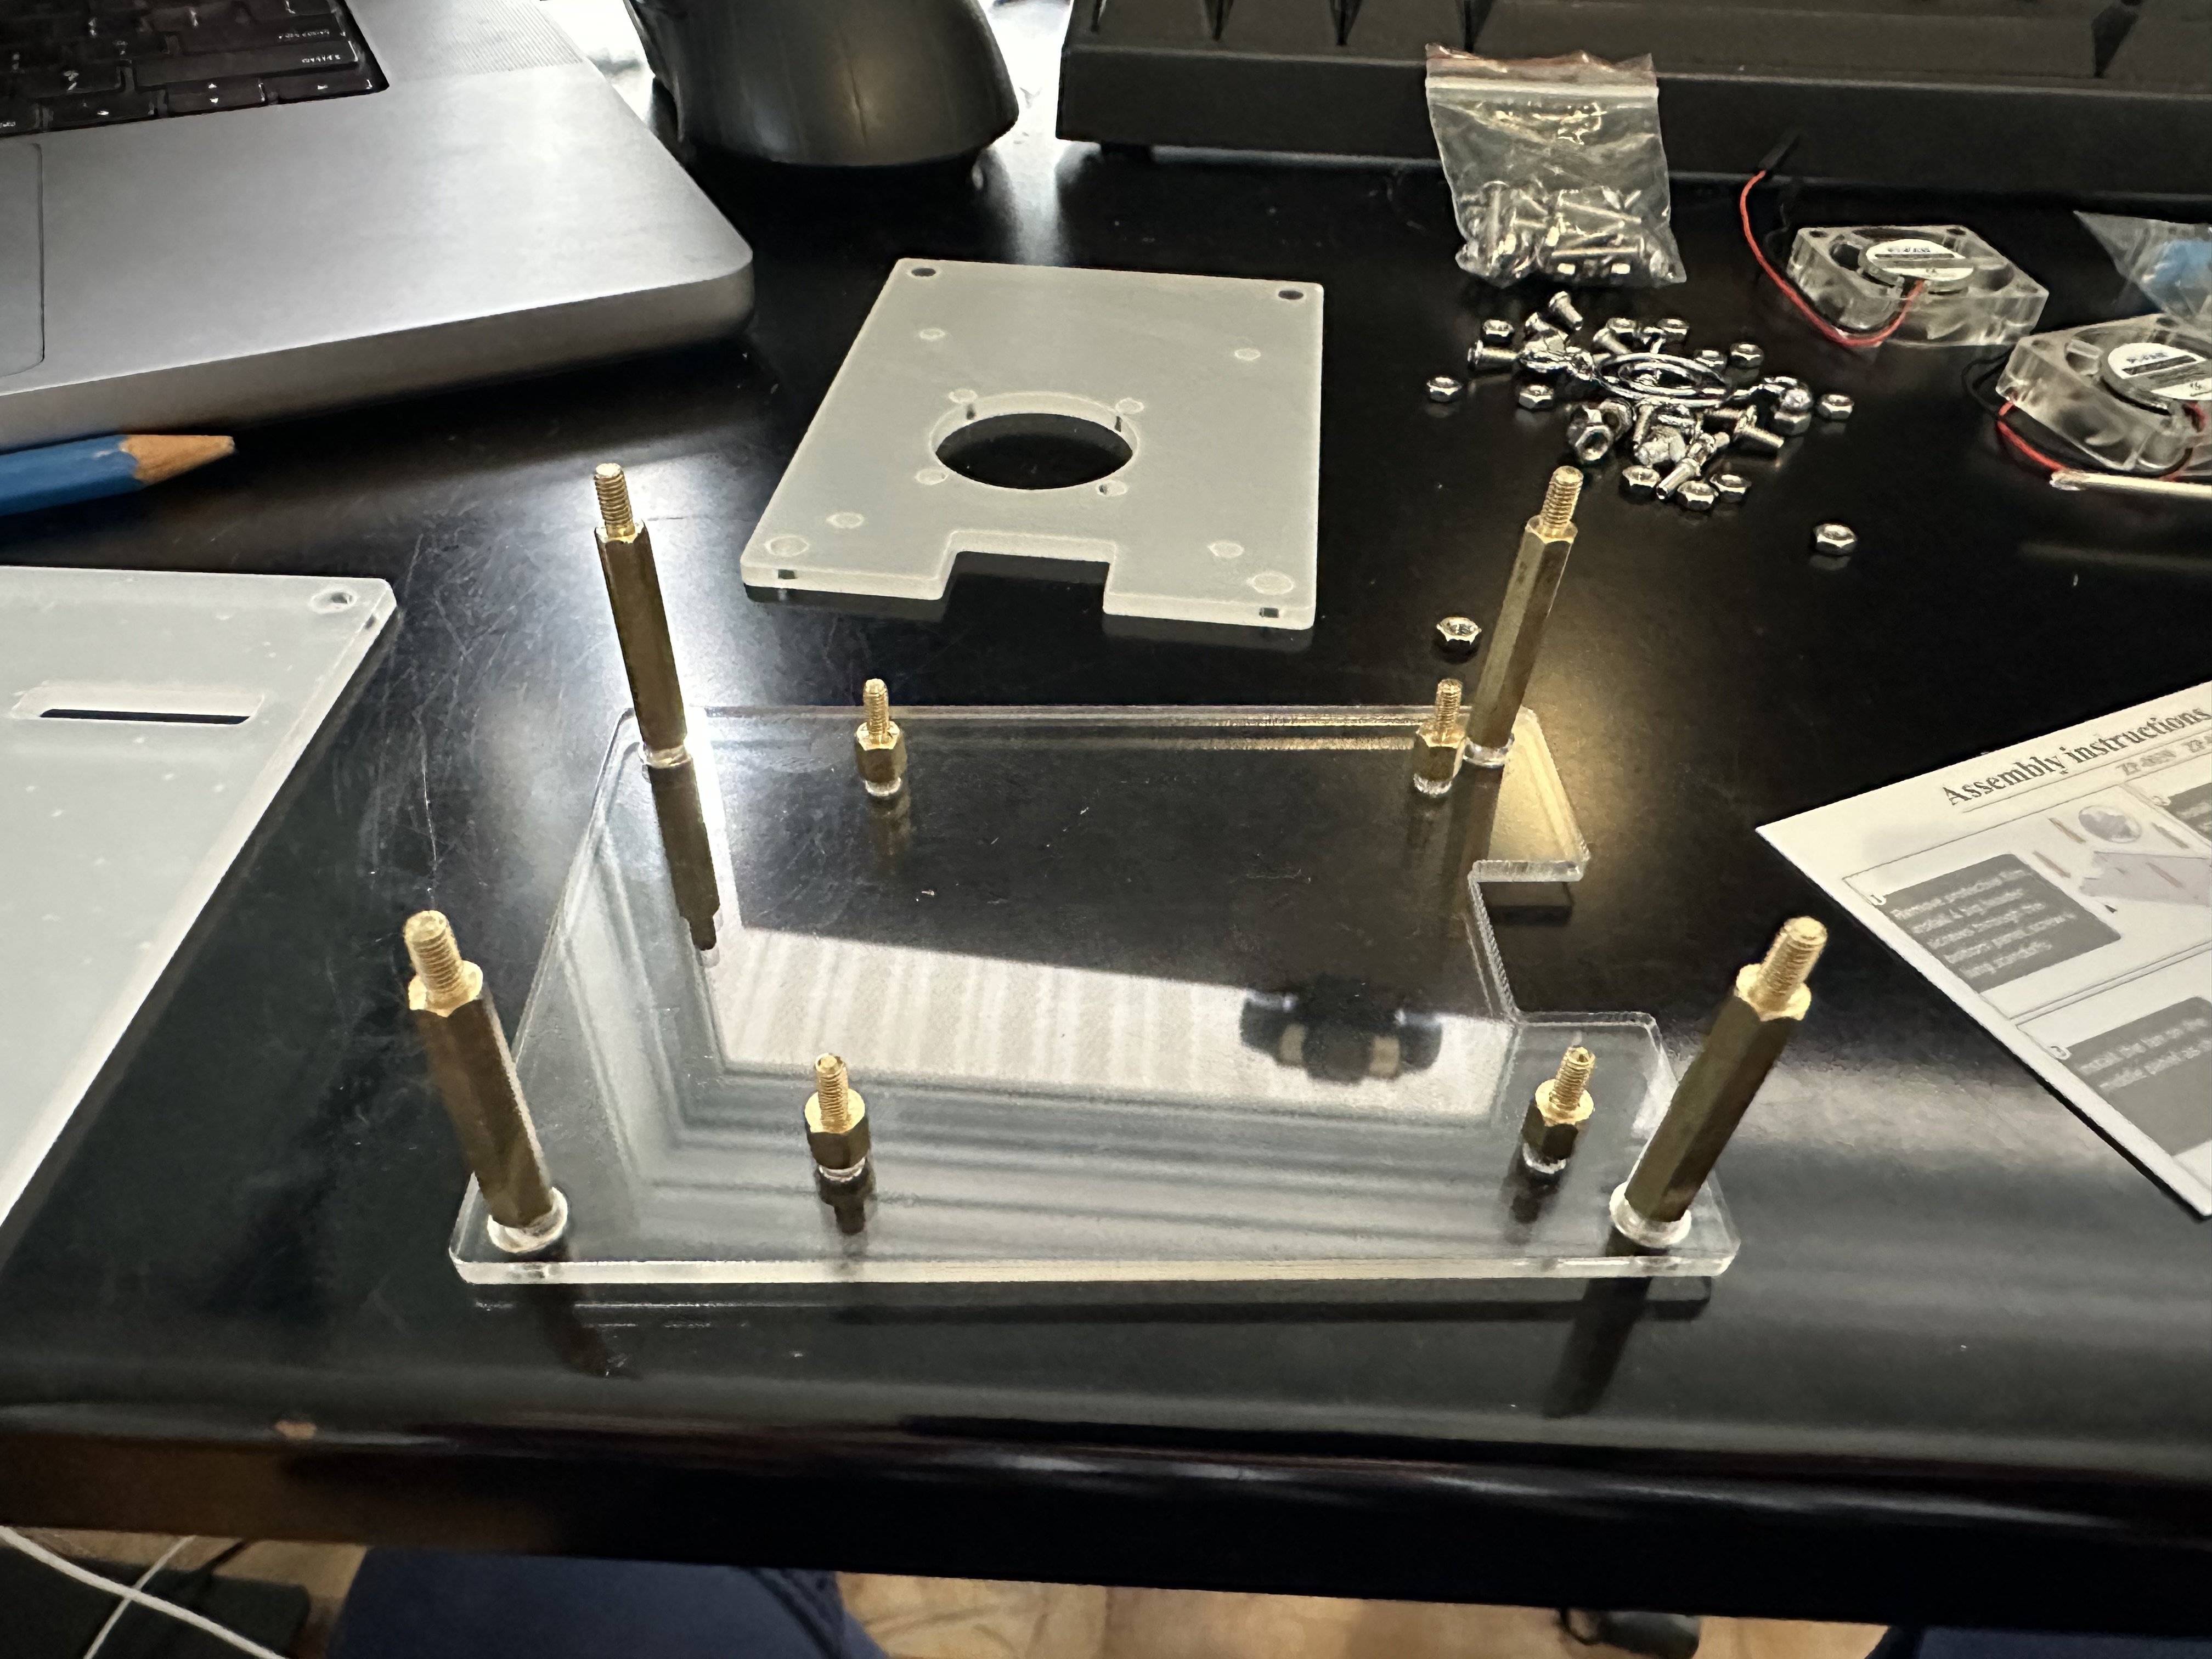
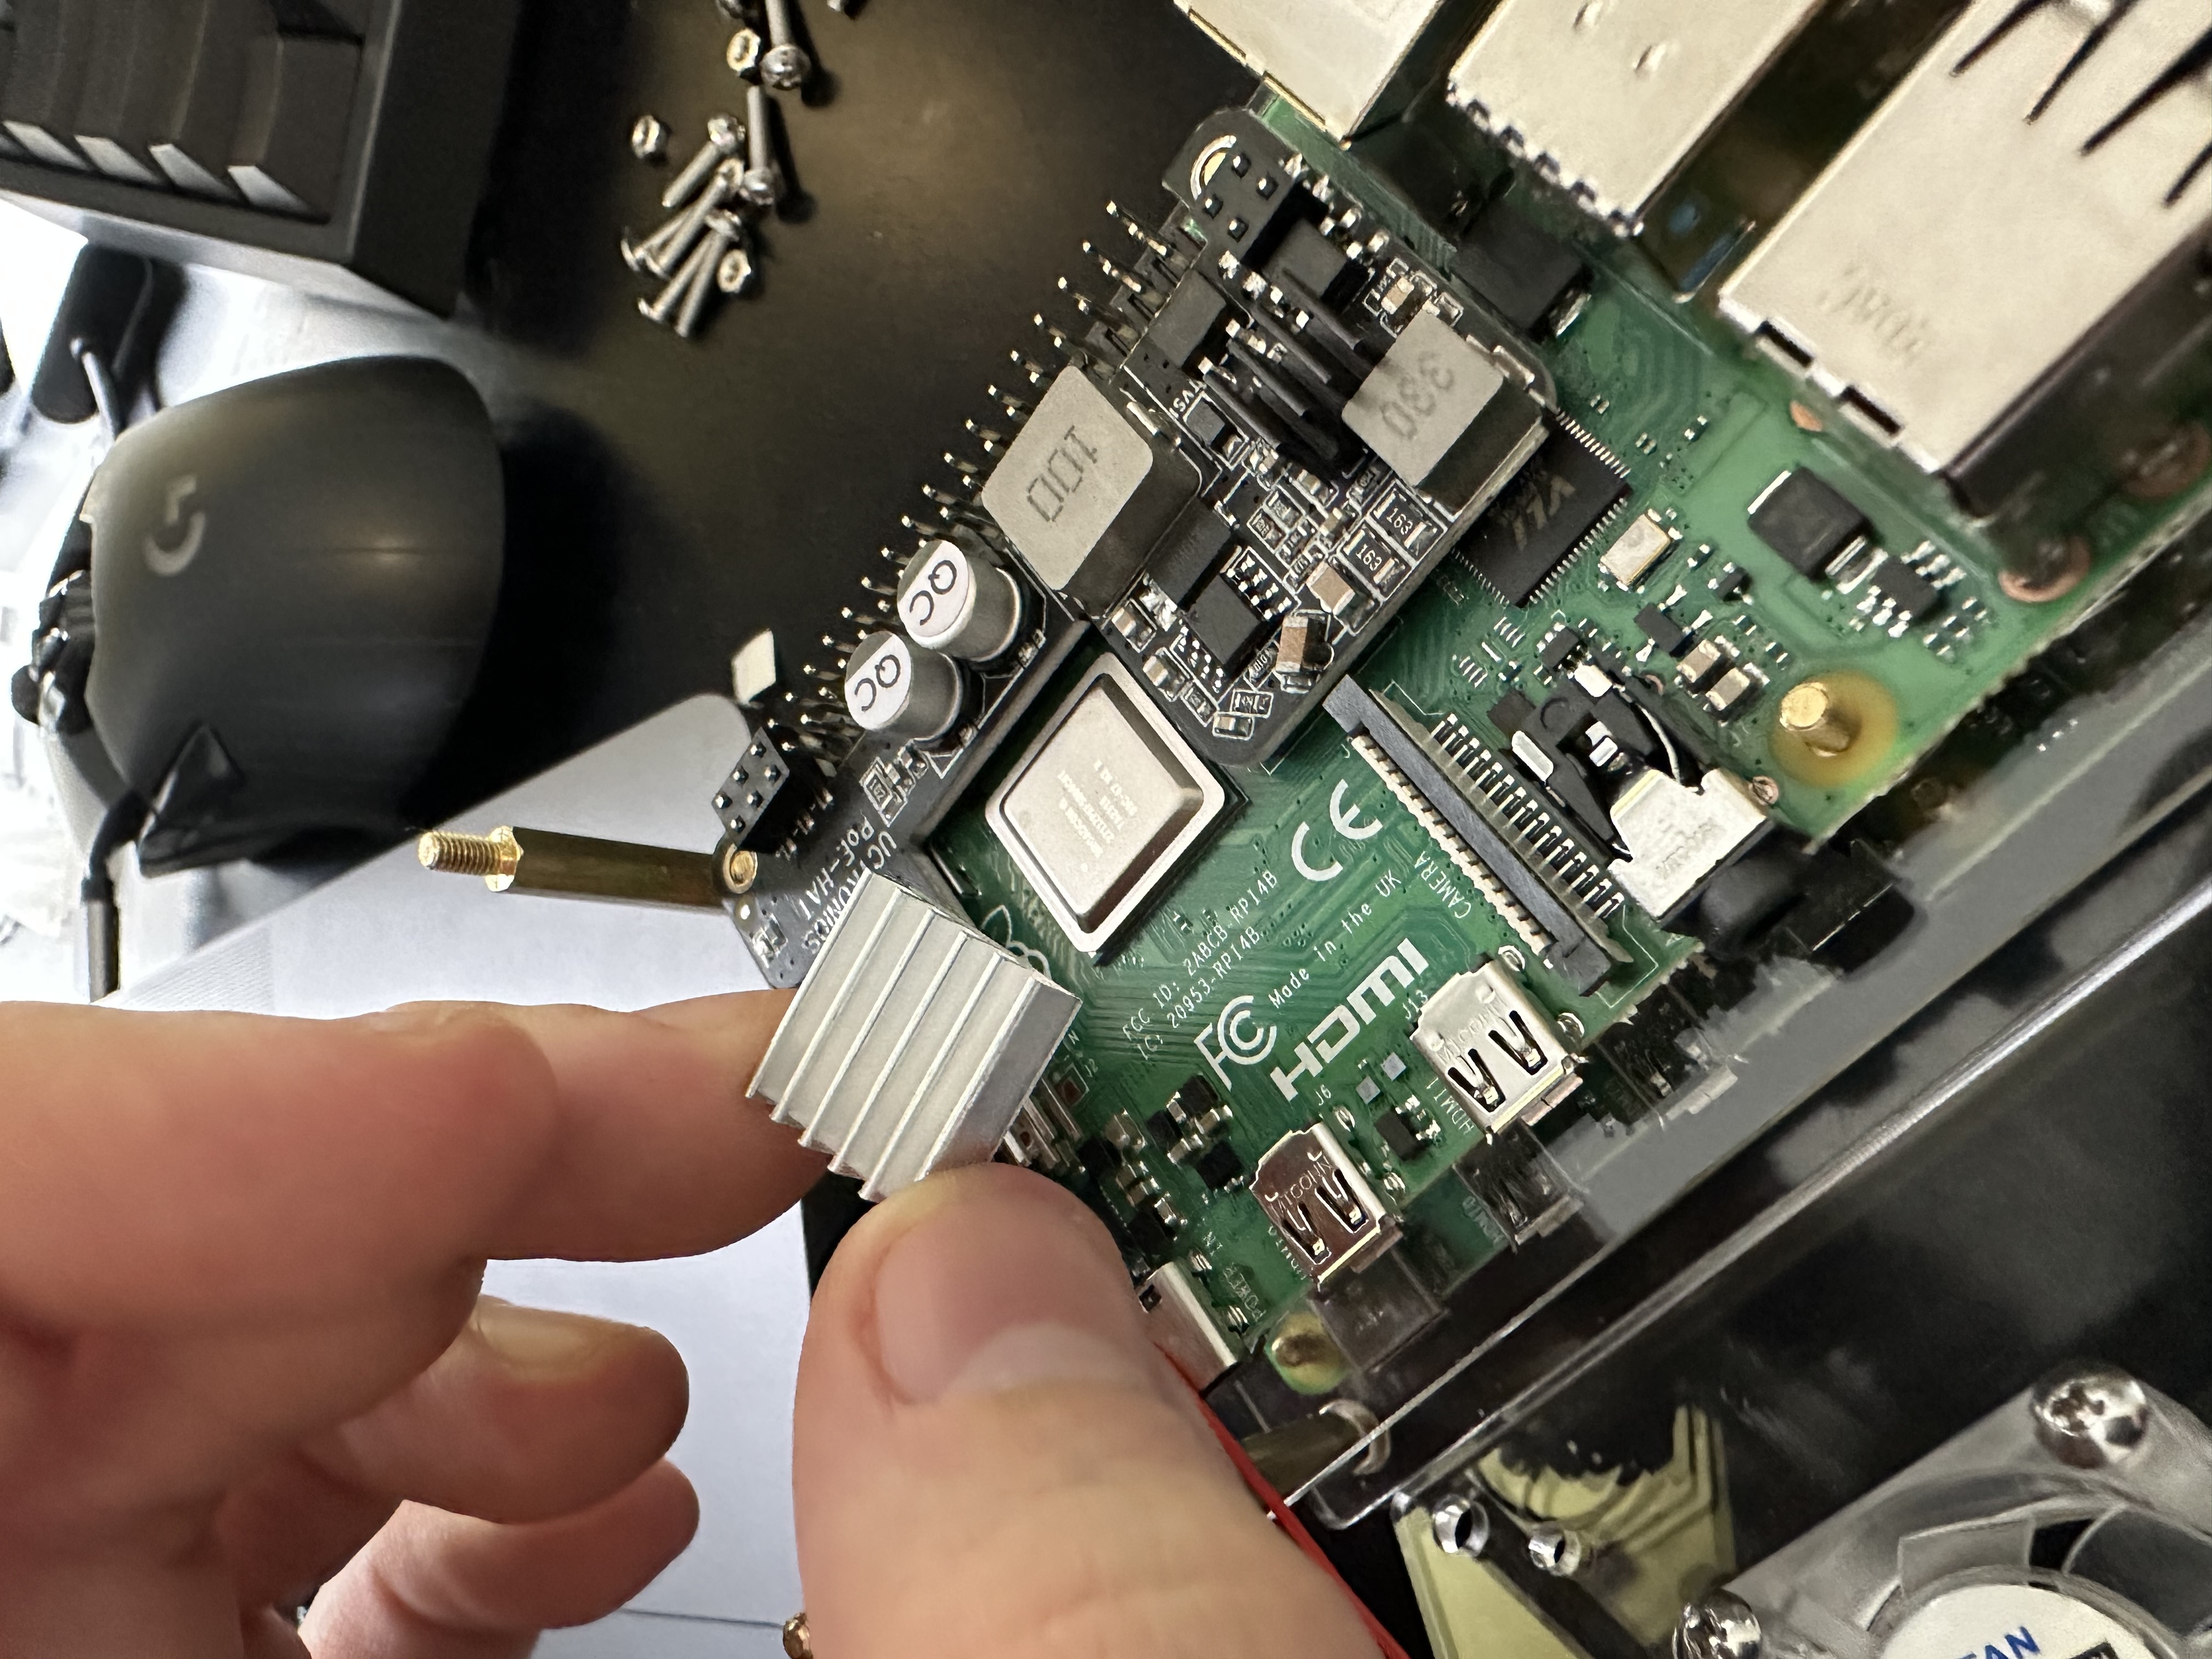
Mount the Raspberry Pis to the acrylic plates using the mini uprights, and attach the PoE hat over the GPIO pins, then attach the heat sink over the CPU next to the PoE hat.
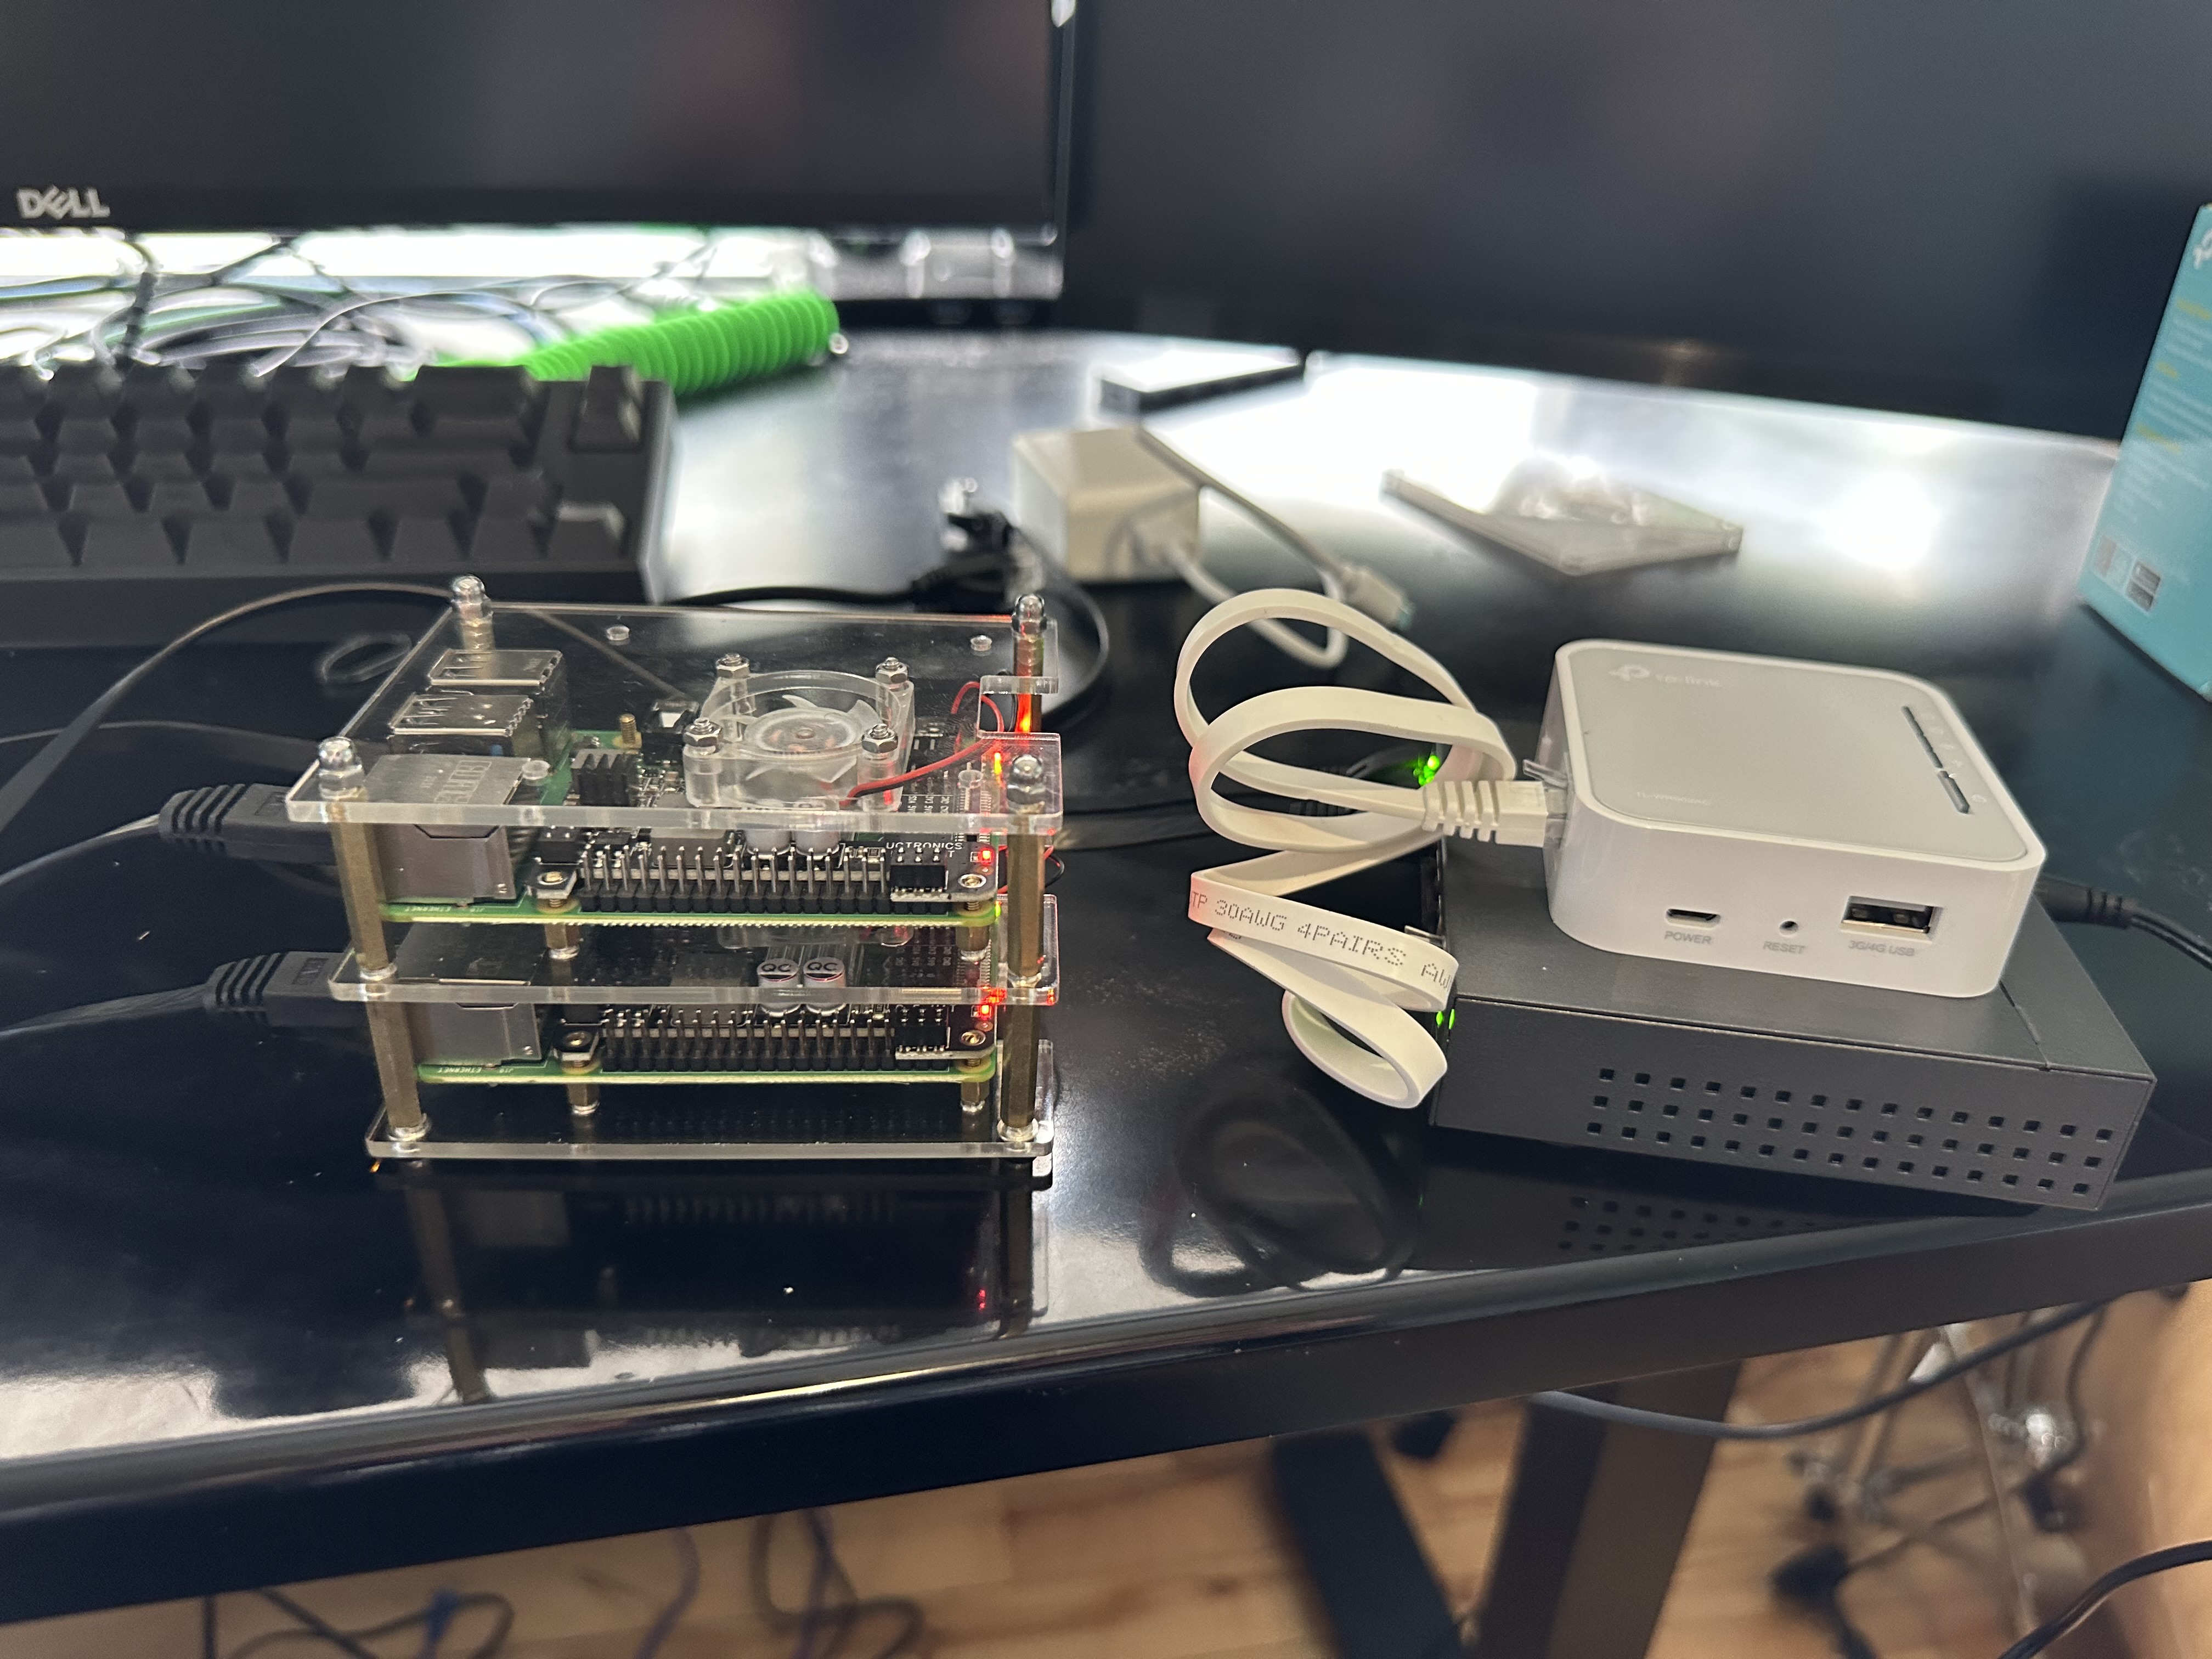
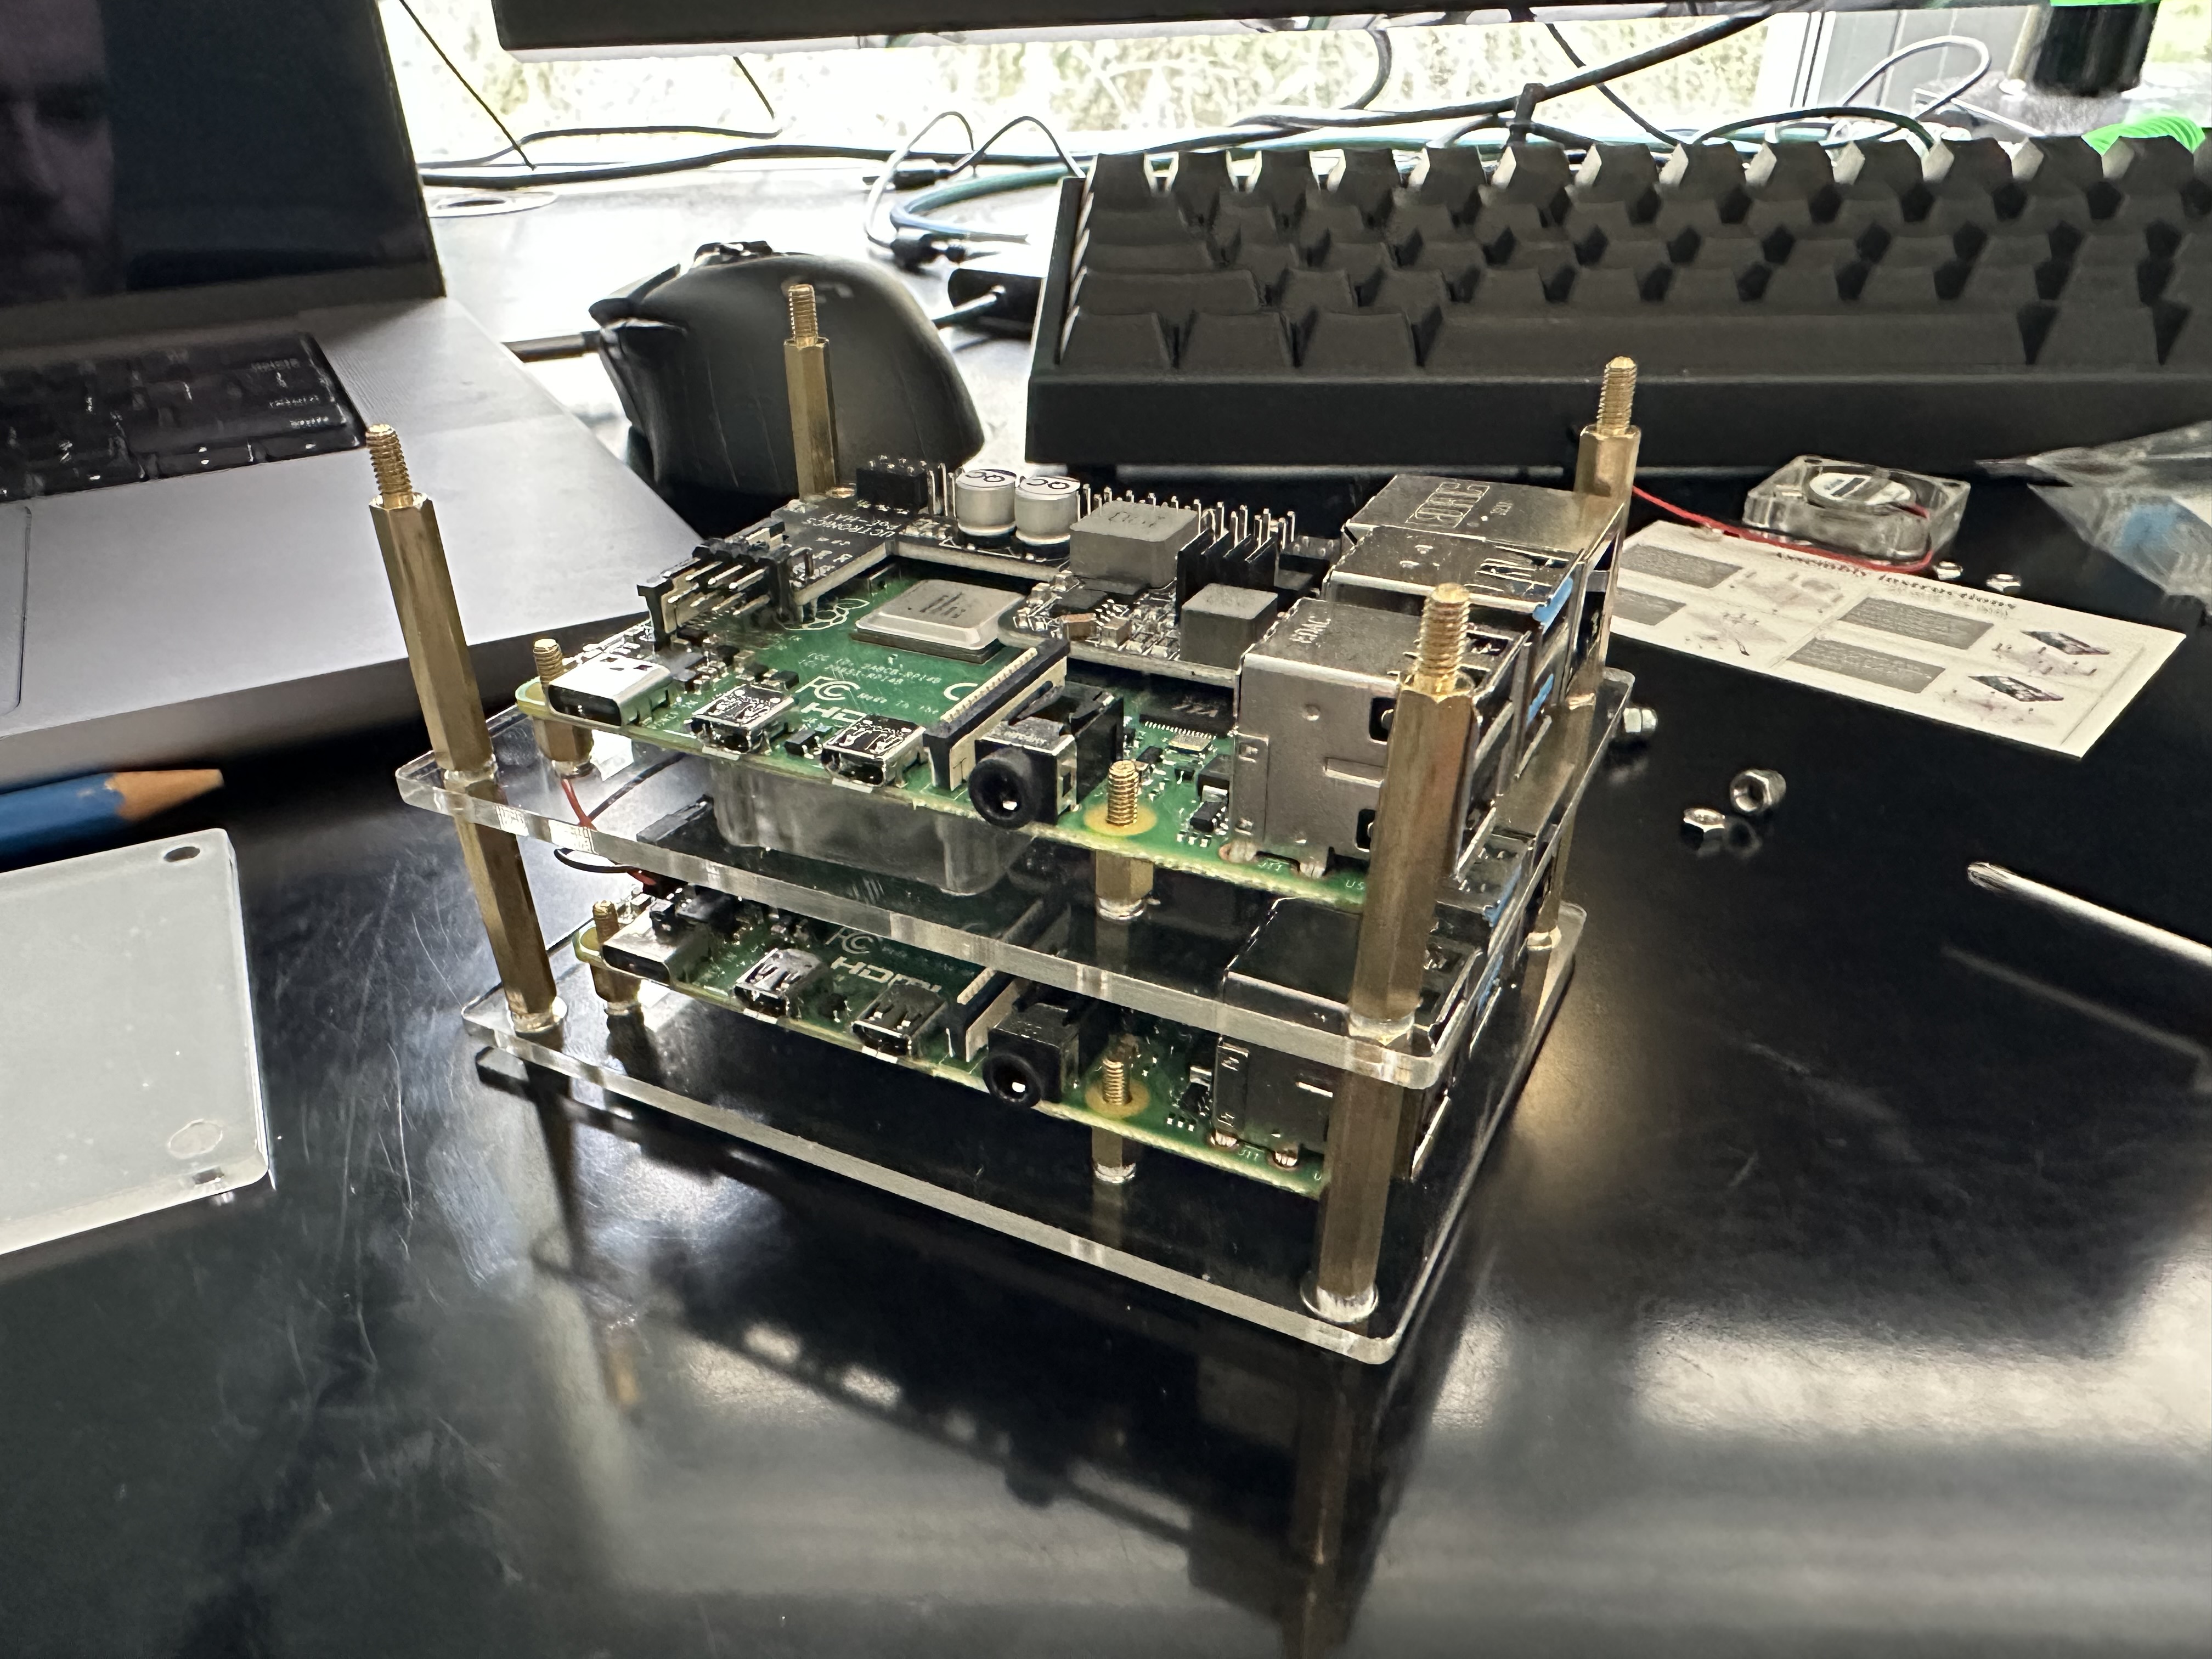
Add another plate on top, and screw in the big uprights again, and rinse and repeat for the rest of the Pis. I only have 2, so my stack looks like this:
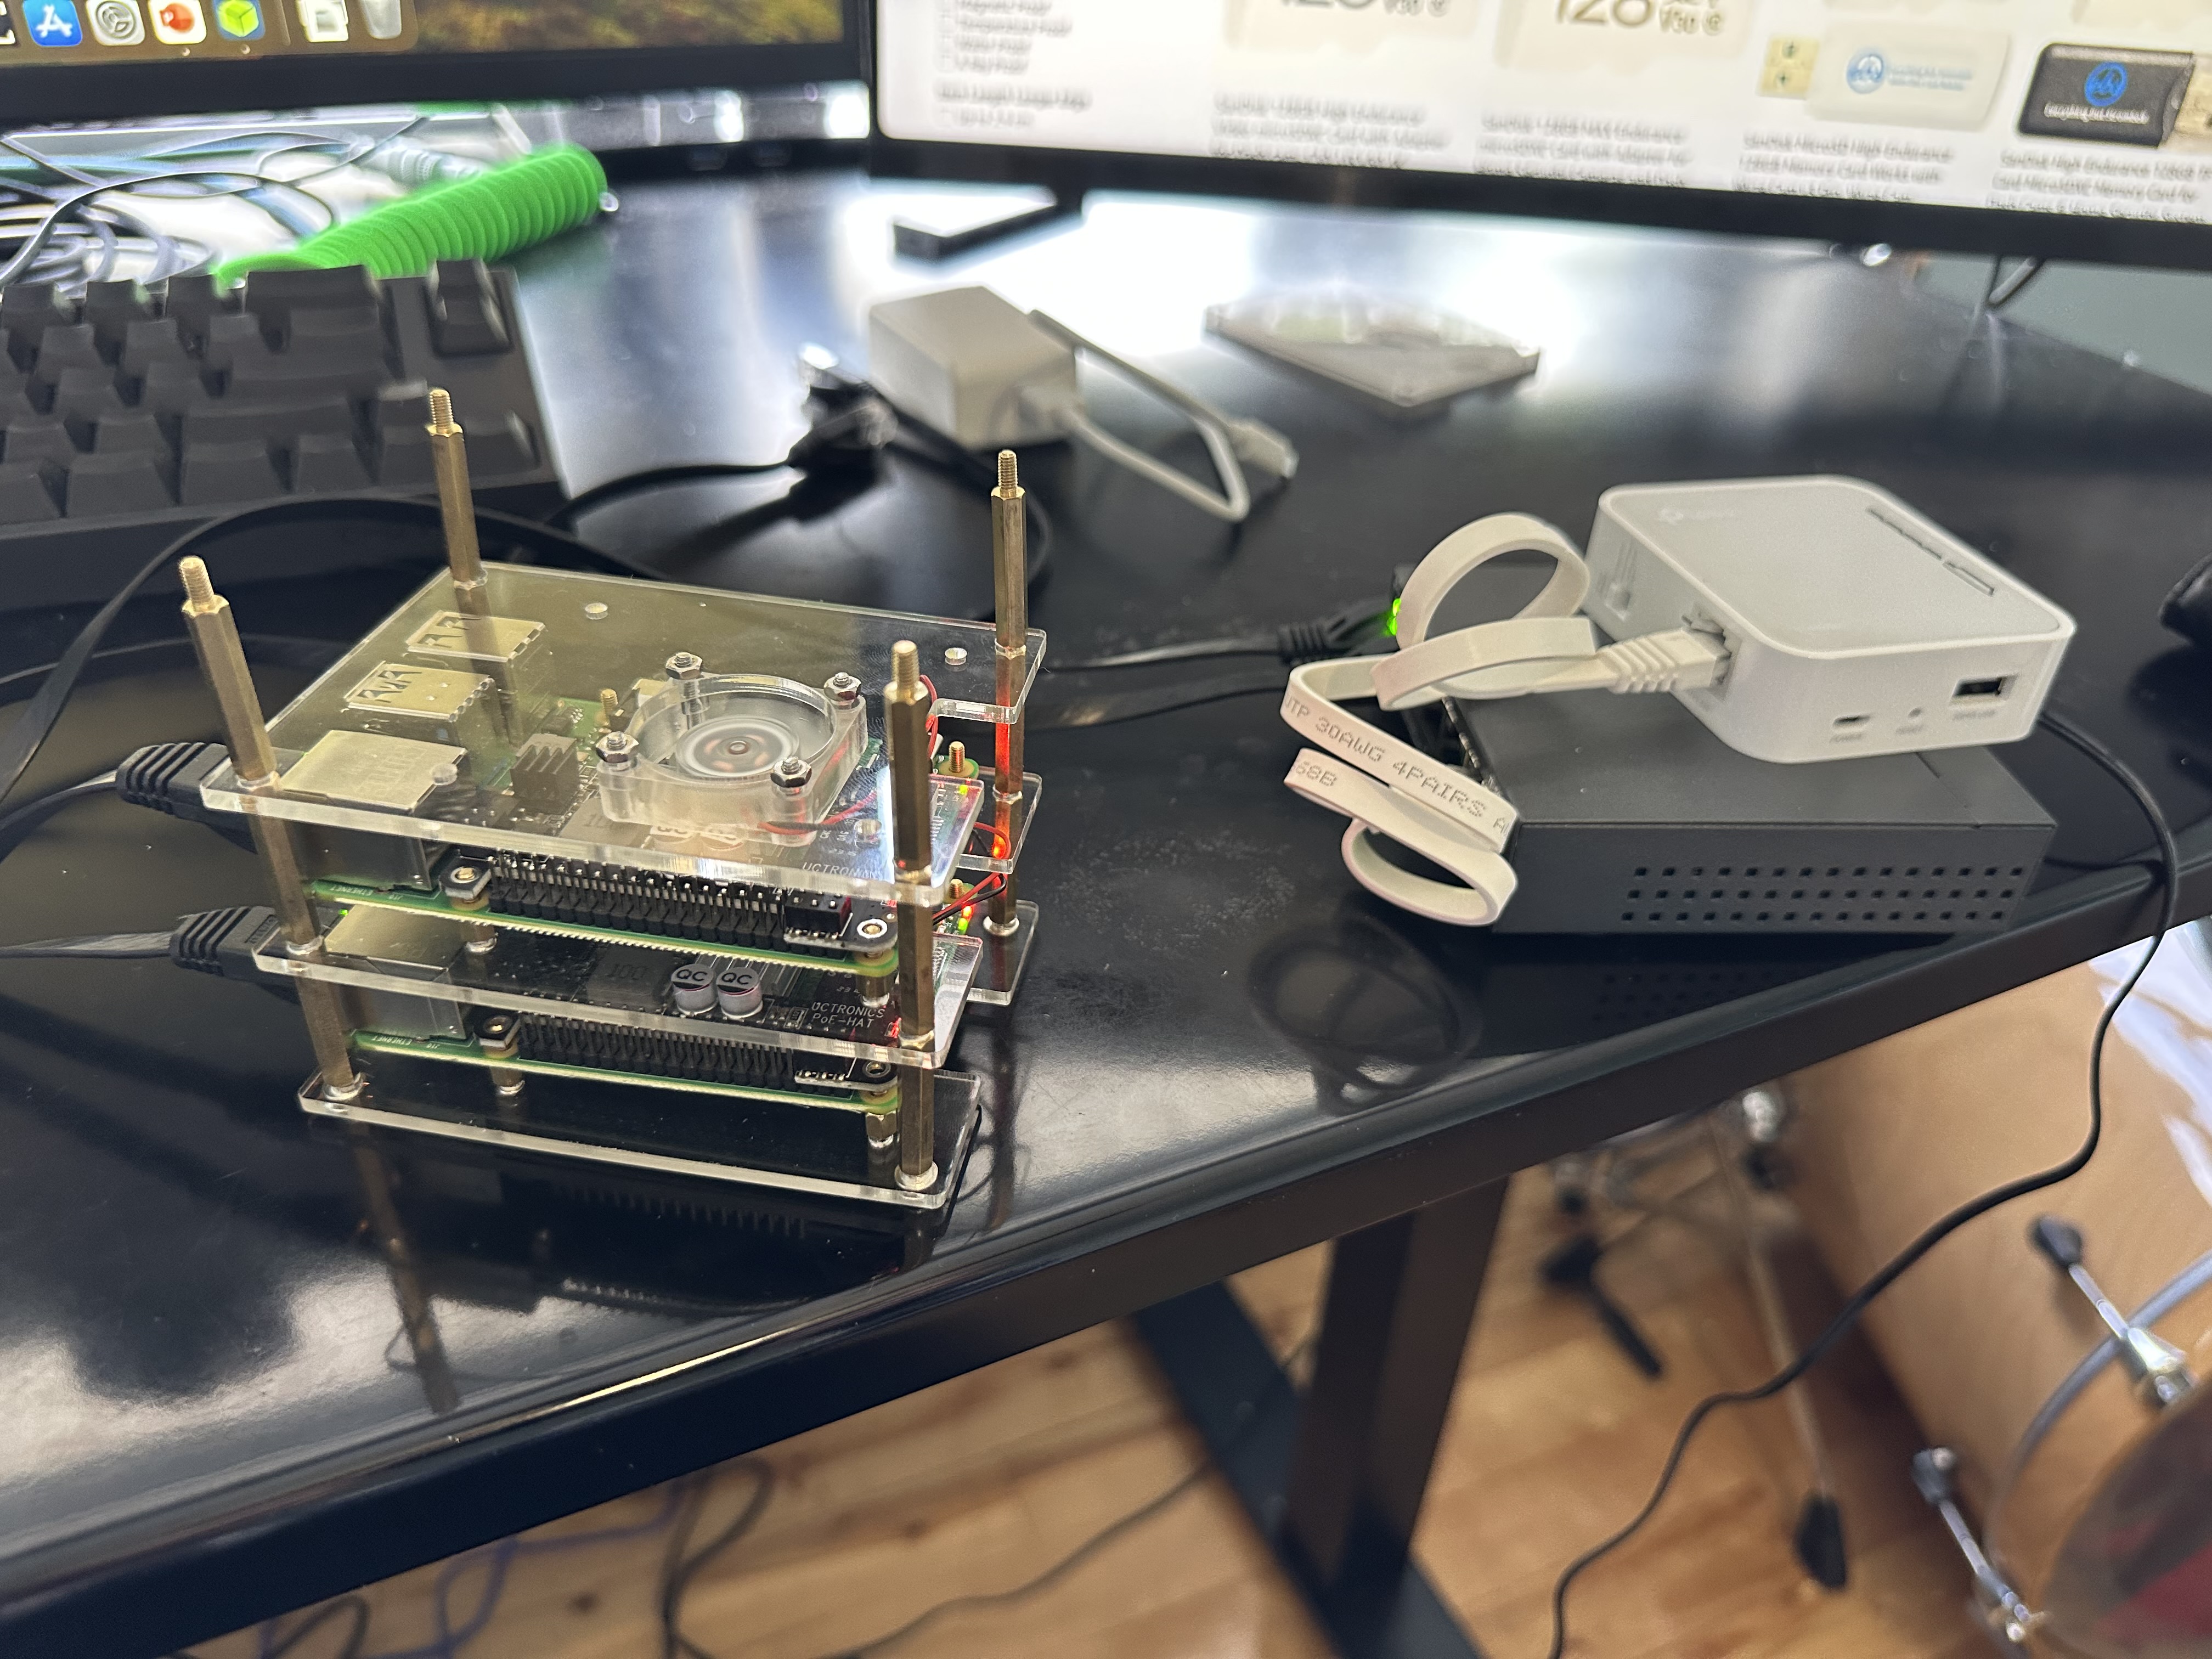
Plug in the ethernet cables to the switch, and then to the PoE hats. Plug in the switch to your main router. (In this picture, pretend this mini TP link router is your main router, in this picture my pis are actually connected over WiFi)
2. Raspberry Pi Ubuntu Configuration: Link to heading
These are the micro sd cards I used

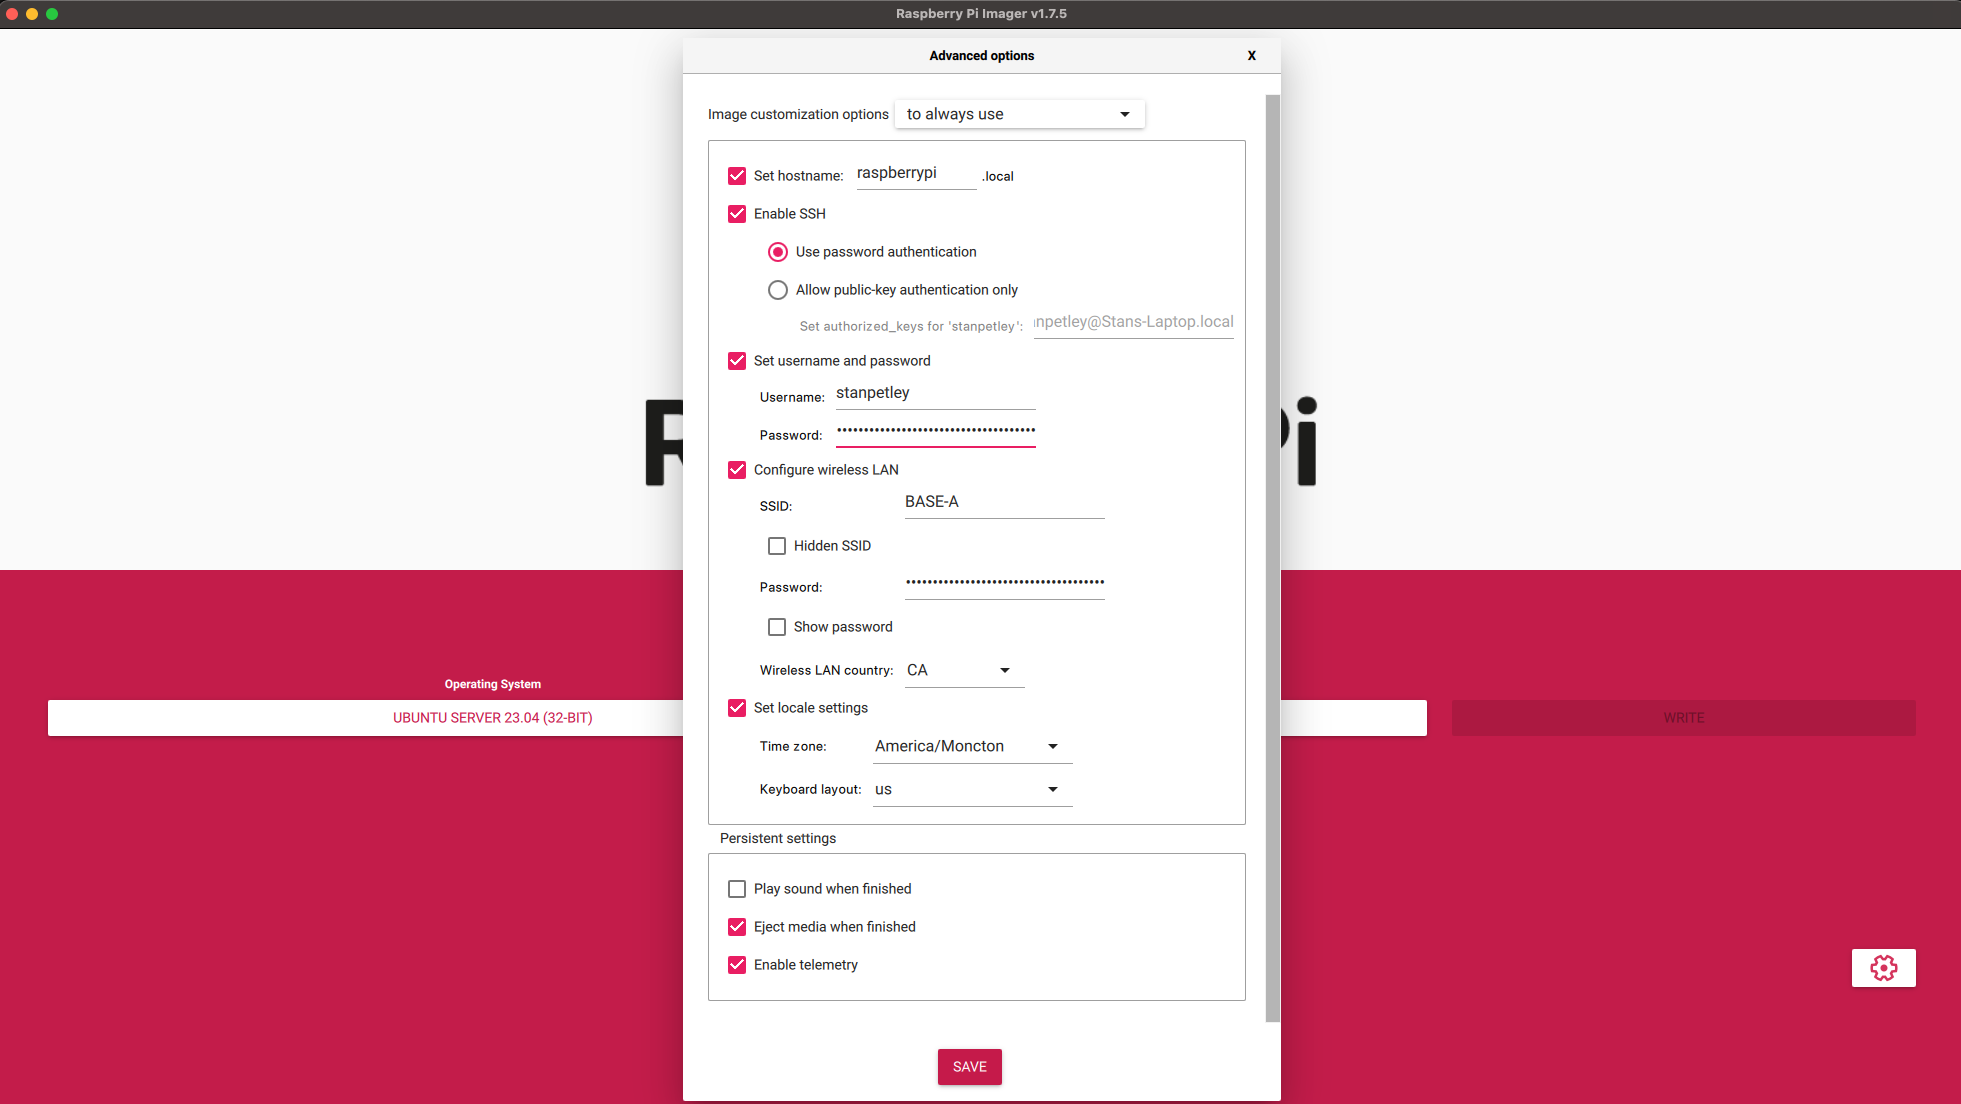
After plugging in the sd cards to your computer, use the Raspberry Pi Imager to flash the Ubuntu Server 21.04 64-bit OS onto the sd cards. Note: If you want your pis to connect to your WiFi network on boot if ethernet is not available, and have SSH keys auth available right away - set this user-data information, similar to the image below.
BE SURE TO SET UNIQUE HOSTNAMES FOR EACH PI IN YOUR STACK!
Once your devices are connected via wireless or ethernet, navigate to your main routers configuration page (in my case, 192.168.2.1 or http://home) and find the IP addresses of your Raspberry Pis. Also, edit these addresses so that they are statically assigned.
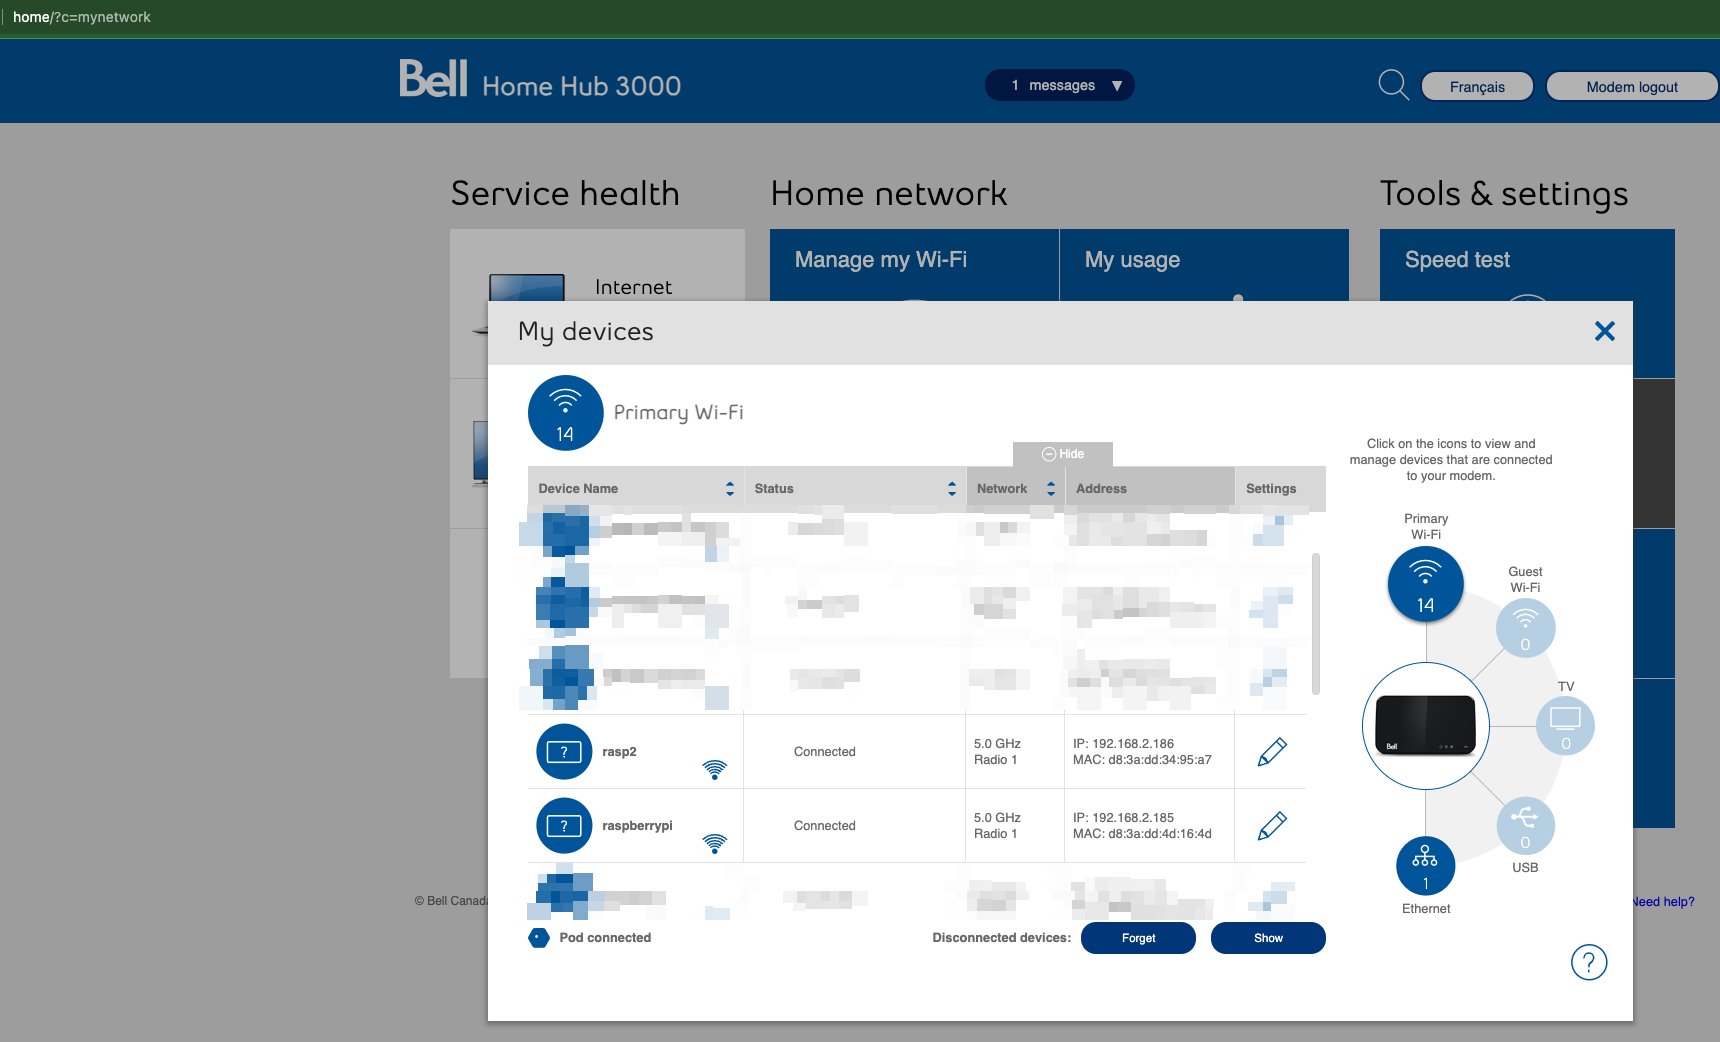
At this point, you should be able to SSH into your devices from a computer on the same network.

Installing K3s Link to heading
1. Setting Up the K3s Server Link to heading
On the Raspberry Pi designated as the server run:
curl -sfL https://get.k3s.io | sh -
Upon completion, you’ll get a node token. Keep this safe as it’s needed to join agent nodes.
2. Adding K3s Agents Link to heading
On each Raspberry Pi(s) that you want as an agent:
curl -sfL https://get.k3s.io | K3S_URL=https://[YOUR_SERVER_IP]:6443 K3S_TOKEN=[YOUR_NODE_TOKEN] sh -
Replace [YOUR_SERVER_IP] with your K3s server’s IP address and [YOUR_NODE_TOKEN] with the token generated from the server installation.
Verifying the Cluster Link to heading
From outside of your cluster on your local computer, set the kube config context by grabbing /etc/rancher/k3s/k3s.yaml from the Pi designated as the server, and copying it to ~/.kube/config (mine was named default)
Optionally, you can rename the context to something more friendly:
kubectl config rename-context default pi
Then check the status of your nodes from outside of the cluster:
kubectl get nodes

To ensure everything’s working, deploy a simple Nginx server:
kubectl create deployment nginx --image=nginx
kubectl expose deployment nginx --port=80 --type=LoadBalancer

Done!